A Weekend Loaf of Substance
One of the things that I like to do is make some fresh bread for my family. I generally do this on the weekends, make some dough and cool…
One of the things that I like to do is make some fresh bread for my family. I generally do this on the weekends, make some dough and cool up one of the loafs on Sunday and then use the second half of the dough for focassia on Tuesday or Wednesday. I would love to get to the situation where I can have a nice sourdough that I could perpetuate on Sunday + Wednesdays (still working on that).
Weekend Dough
So, I’ve iterated the following recipe that does pretty well for a starting point. It is a bit of a wet dough, your mileage may vary. I’m going to use bakers percentages, as measuring weight for all baked goods is the way to go.
On the weekend, if I start this by 9:00 it can be ready by dinner. I use a large Cambro (with lid) to do the fermenting in.
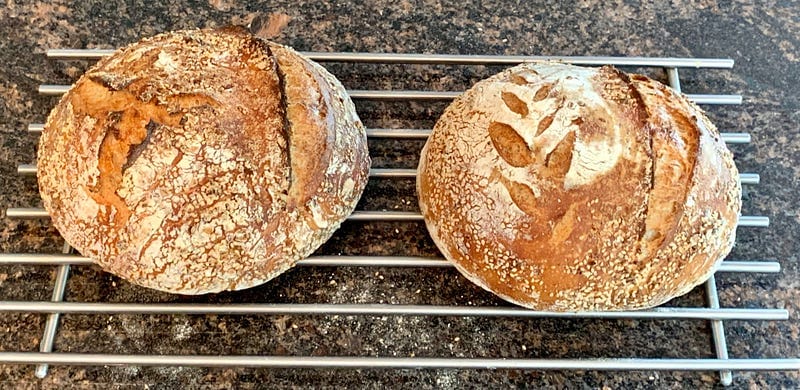
This is good for 2 loaves (I like a more wet dough for this, this is a 74% dough):
- Bread flour (1000g). It is in your best interest if you can get some locally milled bread flour… Just saying.
- Water (740g). It is best if your water is between 91–95°F, depending on the season. Use a meat thermometer, this really matters.
Mix these up, you can use a spatula just to incorporate the water and the flour. Let stand for 20–30 minutes. After this, add:
- 4g Instant Bread Yeast
- 21g freshly ground salt (yes, 21g, it is really only 1.2% salt, by weight).
You’ll need to fold this in. I make several “folds” and “cuts” on the dough:
- Folds: To fold the dough, I reach under one side of it (I consider the 4 cardinal sides in the Cambro), pull out the dough and fold it over the top and lay it down. Do this for all quadrants.
- Cuts: Take the dough and ‘cut’ it with a squeezing motion using your thumb and fore-finger. Cut the dough into 4–6 clumps and mix them up. Then go back and fold.
This should be done sufficiently long to incorporate the salt and yeast into the dough.
2 Folds in the First Hour
So the dough needs two sessions of folding in the first bit of time. I typically do the first set of 720 degree folds (e.g., four folds, twice around the Cambro), and then let it rest. I wet my hands a bit with warm water so it doesn’t stick to much as I go.
The next fold is 45 minutes later. Do the same.
I then let it rest until 2–3pm (if starting at 9), until it is ~4 times as large as you started with. It should look something like this, with all the bubbles on it. I put some flour to prepare bring it out.
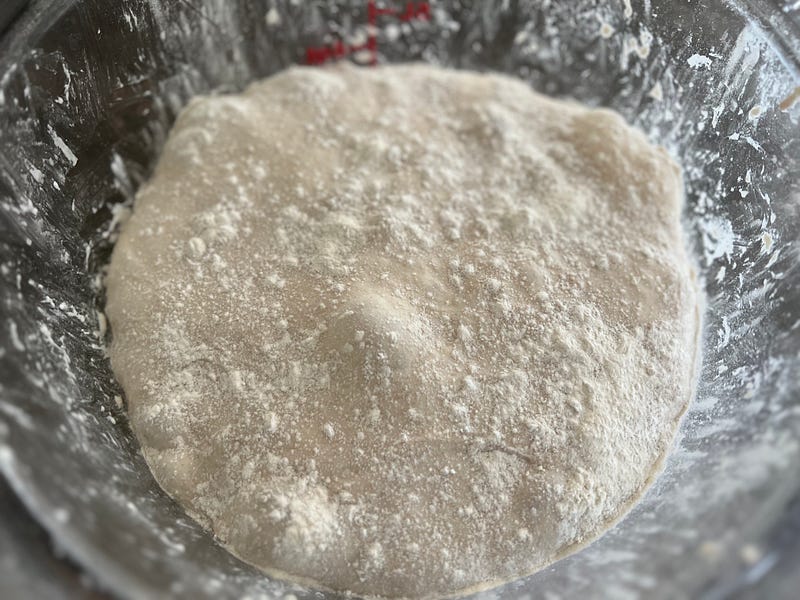
Carefully ‘pour’ out the dough onto a flowered surface. Then cut it in half. For both of these, we’ll need to put them into a proofing mold. I have both round and oblong ones. Make sure they are floured before you put the dough into them.
Also, before you put each of these into the baskets, try to manipulate them to make some surface tension. I do this by cupping my hands together and pulling the dough ball towards yourself, allowing the counter friction to pull the dough on the bottom together and make the surface skin more taught. I usually do this 3–4 times. The result is that the counter-side of the dough ball has a bunch of ‘slack’ dough pulled together and the top of the dough ball is tight.
Place each doughball in its own basket with the seam/less-taught part in the bottom of the basket. I then take the backup boule and wrap it in a grocery plastic bag and put it in the fridge for 2–3 days. Make sure to pull this one out 1–1.5 hours before you bake it.
The boule I cook is put into its basket and covered with a kitchen towel for 1–1.5 hours. Check on this at 45 minutes using a “finger poke test”. It will be done when you poke the dough with your finger and the divit doesn’t come all the way back to pre-poke levels.
Ovens
So to cook this, I had previously done it in the normal oven within a Dutch Oven. I now use an ANOVA Precision Oven (a birthday present by my wife). Here is how each of these methods are done.
Conventional Oven: Put the Dutch Oven (with lid) in the oven and set it for 475°F (or as close as you can get to this) for at least 30 minutes prior to baking. You want to get the oven as hot as possible and environment in the oven will be key to getting the crunch and chewey crust.
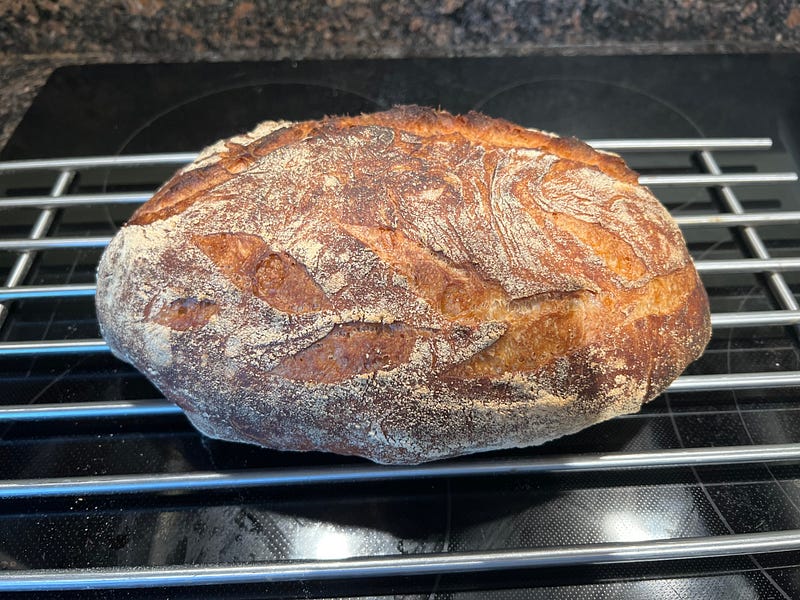
When the loaf is proofed, using your oven mittens, take the Dutch Oven out of the oven and carefully invert the dough into the Dutch Oven. The side that was down in the basket should be the pointing up in the Dutch Oven. Use a bakers lame (or VERY sharp knife) and score the top of the loaf. There are a lot of good designs to use, look at these beautiful loaves.
Bake the loaf, with the lid on, for 30 minutes and then take the lid off and allow it to brown a bit for 10–20 minutes further. I like it almost burnt. Take it out and let it rest (it is going to be a good crust if it is ‘crackling’ as it cools.
Anova Precision Oven: This is medium sized oven that has the ability to steam (or sous vide if you will) by injecting. water into the oven and creating varying levels of humidity. This is the key to making the best crust (the Dutch Oven attempts to do this by creating a closed environment so the moisture cannot escape). I set up the oven as follows:
- Preheat to 482°F (the hottest it can be) with 100% humidity and the rack in the 2nd lowest position. Put in your baking stone (or cast iron) so it heats up as well. I let this go for 20–30 minutes.
- Remove your baking stone/cast iron out and take the proofed loaf and invert it onto it. Score the loaf and put it back into the oven. Cook the oven at 482°F with 100% steam for 20 minutes. This is when your loaf gets its spring and increases in size.
- Lower the temperature to 410°F and 0% humidity for up to 10 minutes to get browned and set the crust.
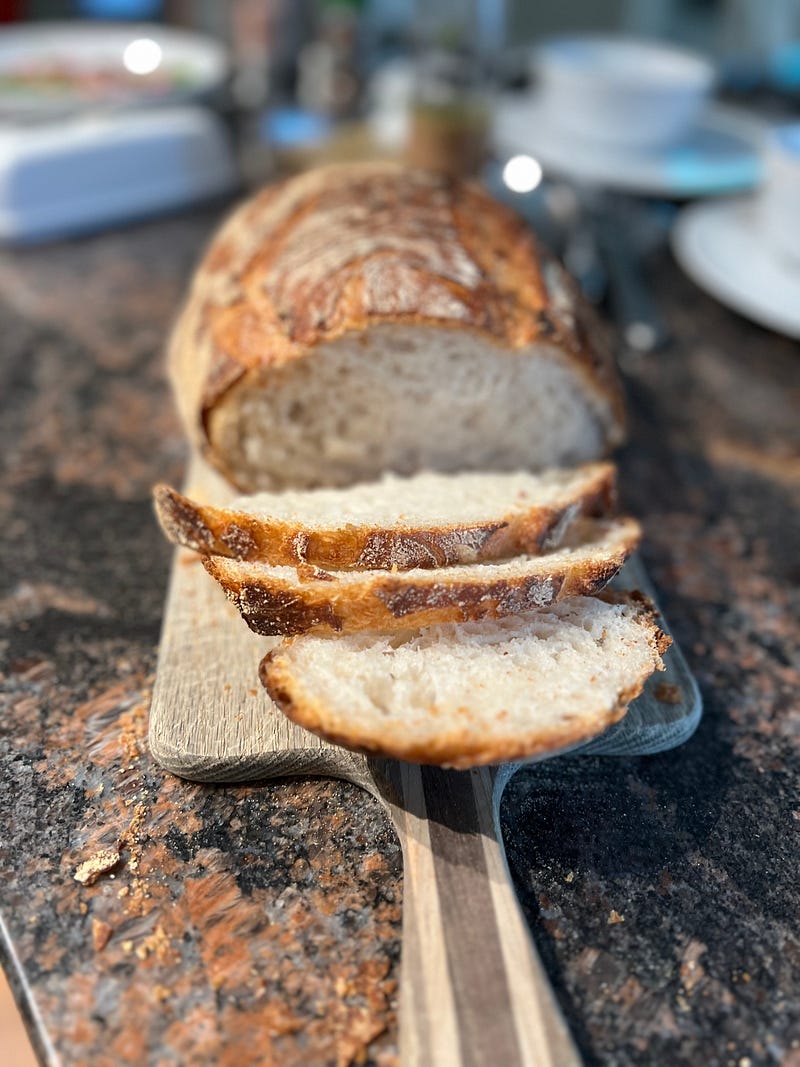
No matter which method you use, remove it from the oven and let it cool down until just warm. Eat with butter or a dip of Olive Oil/Salt.